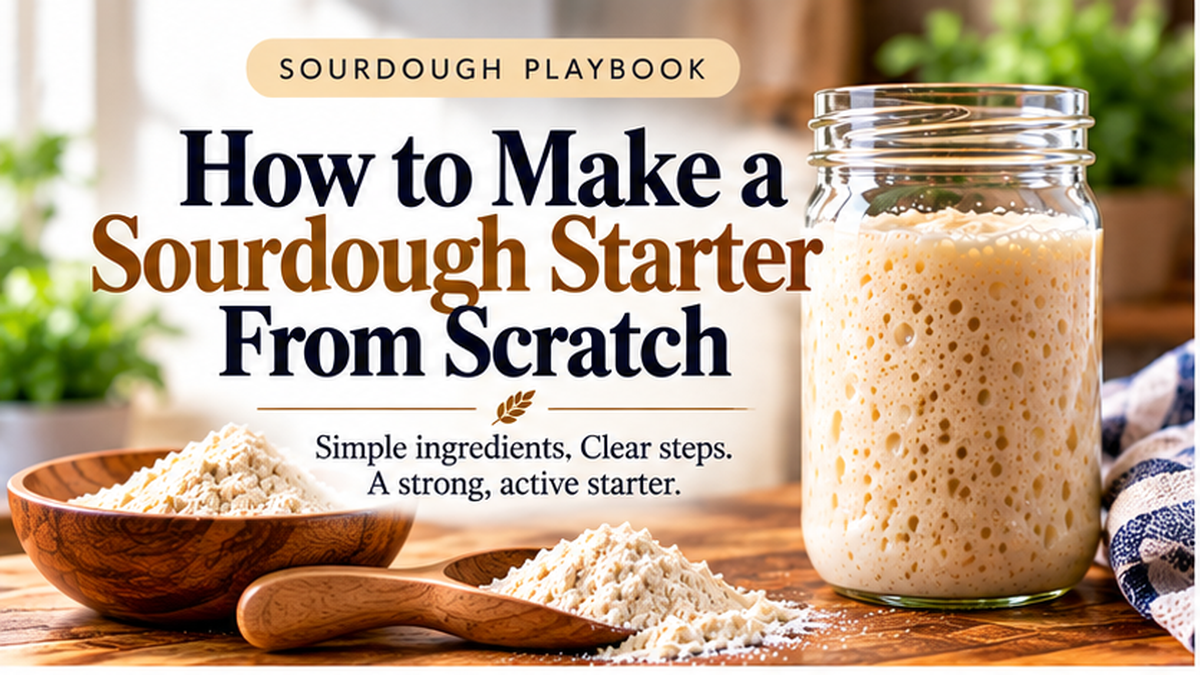
How to Make a Sourdough Starter From Scratch
A sourdough starter is a living culture of flour and water populated by wild yeast and bacteria. Once it becomes healthy and active, a portion of that culture can leaven bread without relying on commercial yeast.
The ingredients are simple. The part that confuses new bakers is the timeline. A starter may bubble dramatically, slow down, smell different from one day to the next, or take longer than a neat five-day schedule suggests. That does not automatically mean you failed.
The rule to remember: the calendar tells you when to check your starter; the starter tells you when it is ready.
What You Need
Unbleached flour. A dependable unbleached all-purpose flour works for the ongoing method; whole-grain flour can also be useful when establishing or strengthening a culture.
Water. Use potable water suitable for cooking.
A digital kitchen scale. Grams make feeding ratios much easier to repeat.
A clean, non-reactive container. Give the starter enough room to expand. A clear, straight-sided jar makes rise easier to see.
A loose-fitting lid or other cover. Protect the starter without sealing it completely airtight.
A rubber band or washable marker. Mark the starter’s level immediately after feeding.
The SDP Beginner Feeding Baseline
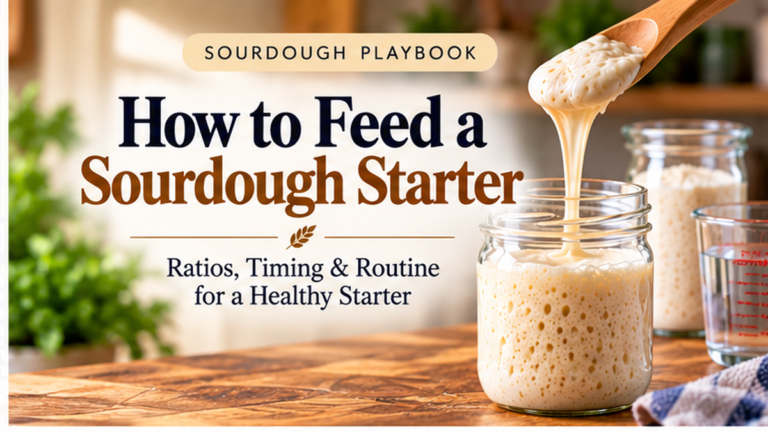
For this beginner method, use a 1:1:1 feeding ratio by weight: equal weights of retained starter, water and flour. A practical small feeding is 50 g starter + 50 g water + 50 g flour. The ratio matters more than the exact 50 g quantity.
Using a smaller starter keeps flour waste manageable while you learn. If you later need more starter for a recipe, you can build the quantity intentionally rather than maintaining a large jar every day.
Day 1: Mix Flour and Water
Mix equal weights of flour and water until no dry flour remains. For a simple start, 50 g flour and 50 g water is enough. Scrape down the sides, cover the container loosely, mark the level, and leave it at a comfortable room temperature.
Do not worry if nothing dramatic happens during the first 24 hours. A new starter is developing a microbial community; visible activity can vary.
Day 2: Keep a Small Portion and Feed It
Keep 50 g of the mixture and remove the rest. Feed the retained 50 g with 50 g water and 50 g flour. Mix thoroughly, mark the new level, cover, and let it rest.
Removing starter before feeding is not pointless waste. It keeps the culture at a manageable size and ensures the microorganisms receive enough fresh flour and water relative to the amount of existing starter.
Day 3 and Beyond: Watch the Pattern, Not Just the Date
As activity develops, you should begin seeing bubbles, expansion and changes in aroma. A common beginner method transitions to roughly twice-daily feedings once the culture becomes active, with feedings spaced about 12 hours apart when practical.
This is also where sourdough can play tricks on a beginner. Early activity does not necessarily mean the starter is mature enough to raise bread reliably. Continue feeding and watch for repeatable performance rather than one impressive rise.
What a Developing Starter Can Look and Smell Like
During the first several days, the starter can move through periods of bubbling, quietness and renewed activity. A healthy developing starter should eventually develop a clean, tangy or pleasantly acidic aroma and visible bubbles throughout the mixture.
Strong or unusual smells during development are one reason beginners panic too early. Activity and aroma should be judged together with the starter’s overall condition. Visible mold, pink or orange discoloration, or a genuinely putrid smell are different: discard the starter and begin again.
How to Know Your Starter Is Actually Ready
Do not declare the starter ready simply because a certain number of days has passed. For SDP, the beginner readiness benchmark is repeatable performance after feeding.
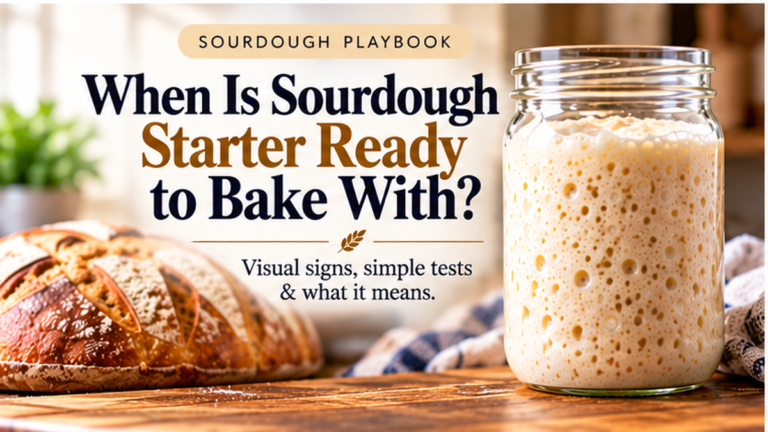
Look for all of these cues: very bubbly throughout; reliably rising to about double its post-feeding volume; doing so in roughly 6 to 8 hours under favorable room-temperature conditions; enough structure to expand rather than producing only surface bubbles; and a pleasantly tangy or acidic aroma rather than a spoiled smell.
If Day 5, Day 6 or Day 7 arrives and your starter is not doing those things reliably, keep feeding it. A slower starter is not automatically a failed starter.
The “It Was Going Great, Then It Stopped” Problem
One of the most discouraging beginner experiences is a starter that looks wildly active early on and then seems to go quiet. Do not use one early burst of activity as proof that the culture is mature. Keep the feeding routine consistent and judge readiness by repeated rise after feeding.
This is exactly why SDP uses observable milestones throughout the beginner path. A starter that has reached Tuesday is not necessarily ready; a starter that repeatedly demonstrates the behavior needed to leaven dough is.
Temperature Changes the Schedule
Fermentation generally moves faster in a warmer environment and more slowly in a cooler one. That means another baker’s exact clock may not match yours. Use time as a checkpoint, then look at the starter.
If the starter is sluggish, consistency matters more than frantic changes. Keep the feeding ratio clear, keep the container clean enough to monitor the culture, and give the starter time to establish itself.
Do I Have to Throw Away the Discard?
Discard is simply the portion removed before a feeding. Once you have an established, healthy starter, discard can be used in recipes designed for it. During the earliest stages of creating a new culture, however, the priority is establishing a healthy starter and following safe food-handling practices.
Never pour sourdough discard down the drain; the flour-and-water mixture can create plumbing problems. Compost it or dispose of it with household waste when you are not using it in a suitable recipe.
Basic Food-Safety Rules
Start with clean hands, equipment and work surfaces. Remember that flour is a raw agricultural product and is not a ready-to-eat food; do not treat raw starter like a finished food. Keep the starter protected from contamination with an appropriate loose cover.
Discard the starter if it develops visible mold, pink or orange discoloration, or a putrid/spoiled smell.
Free Tool: Sourdough Starter Quick-Reference Kit
Three practical printable pages to help you feed your starter, track its activity, and know when it is ready to bake with.
What Happens Next?
Once your starter is reliably active, continue with How to Feed a Sourdough Starter: Ratios, Timing & Routine, then learn when your sourdough starter is ready to bake with.
SDP Quick Answer
To make a sourdough starter, combine flour and water, then repeatedly retain a small portion and refresh it with fresh flour and water. For a simple beginner baseline, SDP uses equal weights of starter, water and flour for routine feedings. The starter is ready for bread when it repeatedly becomes bubbly and roughly doubles after feeding in about 6 to 8 hours—not merely when a certain day appears on the calendar.