
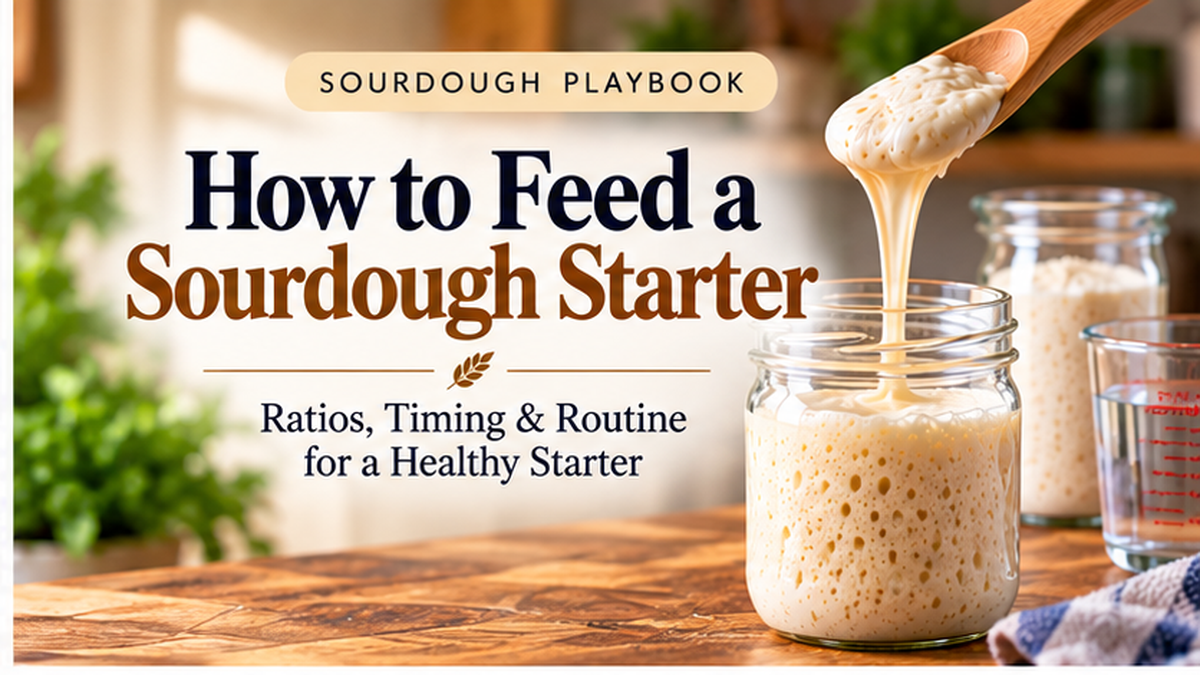
How to Feed a Sourdough Starter: Ratios, Timing & Routine
A sourdough starter does not need a complicated feeding ritual. It needs fresh flour and water in sensible proportions, at intervals that match its activity and your baking schedule.
The easiest beginner mistake is copying someone else’s clock without understanding what the starter is doing. A warm kitchen, a cool kitchen, a starter kept on the counter, and one stored in the refrigerator will not behave on the same timetable.
The SDP approach: learn one dependable feeding baseline first, then use your starter’s rise, peak and fall to adjust the routine.
The Simple Beginner Baseline: 1:1:1 by Weight
A 1:1:1 feeding means equal weights of starter, water and flour. For example, keep 50 g of starter and feed it 50 g water plus 50 g flour. You finish with 150 g of starter.
The numbers describe a ratio, not a required batch size. A smaller maintenance starter can use the same ratio — for example, 25 g starter + 25 g water + 25 g flour — if that better matches how much you need.
Weighing is the SDP default because starter can hold very different amounts of air at different stages. A gram remains a gram whether the starter is freshly stirred down or full of bubbles.
How to Feed Your Starter
1. Place your clean container on the scale and tare it, or weigh the starter in a separate container.
2. Keep the amount of starter your feeding plan calls for. For the standard SDP example, keep 50 g.
3. Remove the excess. Once the starter is established and healthy, that excess can become sourdough discard for an appropriate cooked recipe.
4. Add 50 g water and mix it into the retained starter.
5. Add 50 g flour and mix until no dry flour remains.
6. Scrape down the sides enough that you can clearly see the mixture’s level.
7. Mark the post-feeding level with a rubber band or washable marker, cover loosely, and let the starter ferment.
What Does 1:2:2 or 1:4:4 Mean?
The first number is starter, the second is water, and the third is flour — all by weight. At 1:2:2, 25 g starter would receive 50 g water and 50 g flour. At 1:4:4, 25 g starter would receive 100 g water and 100 g flour.
A larger feeding gives the microorganisms more fresh food relative to the amount of existing culture. That generally stretches the time before the starter reaches peak activity. This can be useful when a 1:1:1 feeding peaks too early for your schedule, especially in a warm environment.
Do not change ratios just because larger numbers sound more advanced. A 1:1:1 feeding is an excellent learning baseline. Change the ratio when you have a reason — such as timing a bake, reducing how quickly the starter peaks, or building a specific quantity.
Rise, Peak and Fall: Learn the Starter’s Cycle
Immediately after feeding, the starter is at its starting level. As fermentation progresses, bubbles form and the starter expands. Eventually it reaches its highest point — its peak — and then begins to flatten and fall as its available food is depleted.
Marking the jar after every feeding turns this cycle into something you can see. Look for expansion through the jar, bubbles throughout the culture, a rounded or active-looking top as it approaches peak, and residue on the jar above the starter after it has begun to fall.
For baking, a healthy starter is commonly used when it is ripe: bubbly, strongly expanded, and around its peak rather than long after it has collapsed. A reliable established starter may roughly double within about 6 to 8 hours after a standard feeding under favorable room-temperature conditions, but your kitchen and feeding ratio can shift that window.
How Often Should I Feed a Starter on the Counter?
There is no useful answer that ignores temperature, feeding ratio and starter activity. Established room-temperature starters are commonly maintained with regular daily feeding; some maintenance methods call for once a day, while others use roughly 12-hour feedings for a highly active starter.
For a beginner, the better skill is to observe the cycle. If your starter peaks and collapses well before the next planned feeding, it is moving faster than your schedule. If it barely rises before you feed again, it may be moving more slowly or need more time to strengthen.
Do not respond to every imperfect feeding by changing three variables at once. Keep good notes, make one sensible adjustment, and watch what happens over the next several feedings.
What About a Starter in the Refrigerator?
Cold temperatures slow fermentation dramatically. A common maintenance routine is approximately one feeding per week for an established refrigerated starter. For the full decision and routine, see How to Store Sourdough Starter: Counter vs Refrigerator.
How Much Starter Should I Keep?
Only as much as your routine needs. Maintaining a giant jar creates giant amounts of discard. A smaller mother starter can be maintained efficiently, then built up before a recipe when you need a larger quantity.
Before baking, calculate how much ripe starter the recipe requires plus enough starter to preserve your culture. Build that amount with an appropriately sized feeding rather than permanently maintaining the maximum amount you might someday need.
Do I Always Have to Discard Before Feeding?
For routine maintenance, removing part of the starter keeps its total size under control and keeps the amount of fresh food appropriate relative to the existing culture. If you simply added equal amounts of flour and water forever without adjusting for the growing amount of starter, the jar — and the feeding required to nourish it — would quickly become enormous.
There are intentional exceptions. When building the amount needed for a recipe, you may feed without discarding so that you finish with enough ripe starter for the dough and enough to maintain your culture.
Five Signs Your Feeding Routine Is Working
The starter rises predictably after feeding. Bubbles develop throughout the culture, not only as a few bubbles on top. You can identify a repeatable rise-and-peak pattern. The aroma is clean and pleasantly fermented rather than putrid. After enough consistent feedings, the starter can reliably expand strongly enough to use for baking.
Common Feeding Mistakes
Measuring casually by volume: Volume changes with aeration. Use a scale when possible.
Feeding by the clock but never looking at the starter: Time is a checkpoint; activity tells you what actually happened.
Changing flour, ratio, temperature and schedule at the same time: You will not know which change helped or hurt. Adjust deliberately.
Keeping far more starter than you use: Maintain a practical amount and build more when needed.
Assuming refrigerator storage means zero maintenance: Cold slows the culture; it does not make the culture immortal.
Free Tool: Sourdough Starter Quick-Reference Kit
Three practical printable pages to help you feed your starter, track its activity, and know when it is ready to bake with.
What to Learn Next
If you are starting from scratch, see How to Make a Sourdough Starter From Scratch. Once the feeding routine makes sense, continue with When Is Sourdough Starter Ready to Bake With?